USB Rotary Dial
USB Rotary Dial
Description
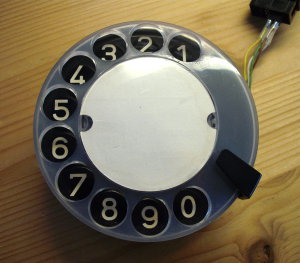
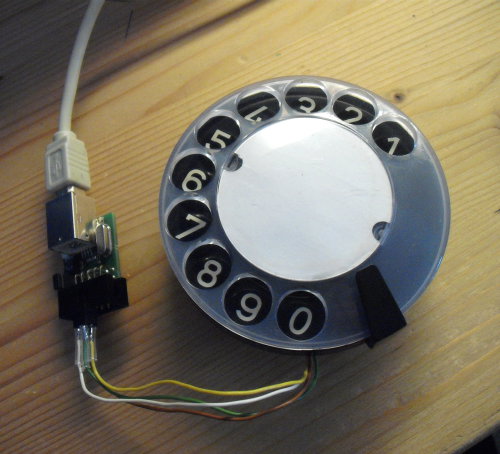
This hardware project equips a rotary dial from an old telephone with a neat little USB port :). It then can be used as USB keyboard for typing numbers.
Usage
Easy: Just plug it in, it works without any specialized driver.
How a rotary dial works
I hope you still know how to use a rotary dial ;). By sticking your finger into one of the numbered holes and dragging it to the stopper, a couple of things happen:
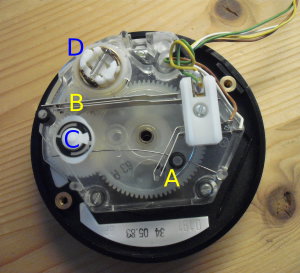
First, as soon as you put the dial out of its idle position, the A switch is closed.
While dragging, you will hear some gentle clicks (among the clickety-click of the freewheel of the tempo limiter D). For each click, the pulse wheel C will generate a pulse later.
When you now release the dial, it is pulled back into idle position. Now, the freewheel attaches the dial to the tempo limiter D, which regulates the pulse speed. Simultaneously, the pulse wheel C rotates by 180 deg, as often as the digit you have dialed. With each half rotation, it releases the switch B for some time, converting the dialed number into electrical pulses.
Finally, the switch A is opened again to signalize that no more pulses will follow.
The hardware
The hardware is fully built upon the USB AVR Lab by Christian Ulrich. This is a tiny board featuring an ATmega8 AVR, which speaks USB using the V-USB library, plus a 10-pin header which allows one to connect to some of the AVR port pins.
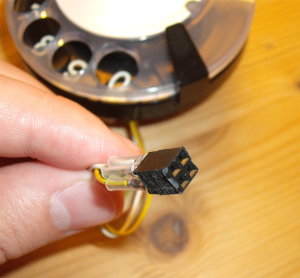
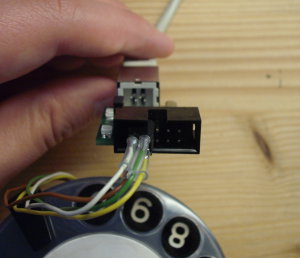
I have soldered the rotary dial's cables to a 2x2 pin female header (2.54mm / 100mil raster), so they plug into the left side of the AVR USB Lab's pin header.
The connections are foolproof, meaning that you cannot do any harm by plugging the connector onto the wrong pins, or by rotating it by 90 degrees; it will simply not work:
- If it's not plugged onto the right pins, the LED is red.
- If it's rotated by 90 degrees, the LED is red, too.
- If it's rotated by 180 degrees, the LED is orange (red+green).
- And if you did it correctly, the LED is off.
The firmware
The firmware utilizes V-USB in order to show up as USB-HID (human interface device) keyboard to the computer side. In its main loop, it polls the rotary dial's switch states, debounces and interprets them. When the dial returns into idle state, the appropriate key press is simulated.
For debugging, the multicolor LED shines green whenever the dial is not in idle position; it flashes orange for each detected pulse. The blue LED flashes while a key press is sent to the computer.
Flashing the firmware onto the AVR USB Lab
The AVR USB Lab is equipped with a bootloader and comes with a tool to upload new firmwares to the chip over USB. This is done using the AVR USB Lab tool.
Once the rotary dial firmware is flashed, you cannot put the board into download mode using the tool's button; instead, download mode is entered by generating at least 17 pulses. This can be accomplished by dialing a zero, and before the wheel re-enters the idle state, drag it back to zero again. Download mode is signalized by the LED shining orange.
Download
You can find the source code on GitHub or at my own cgit. The README file tells you how to make the connections.
Schematics
The Rotary-Dial-to-USB-Interface expects a rotary dial to be attached against PB4/5. When you look at the front of the connector:
 ____   ____
| 9 7 . . . |  Attach the two cables for the idle switch at 9 and 0.
| 0 8 . . . |  Attach the two cables for the dial pulse switch at 7 and 8.
 -----------   (0 and 8 are routed to GND, 9 and 7 to PB4 and PB5.)


